Black and White Film Workflow with Capture One
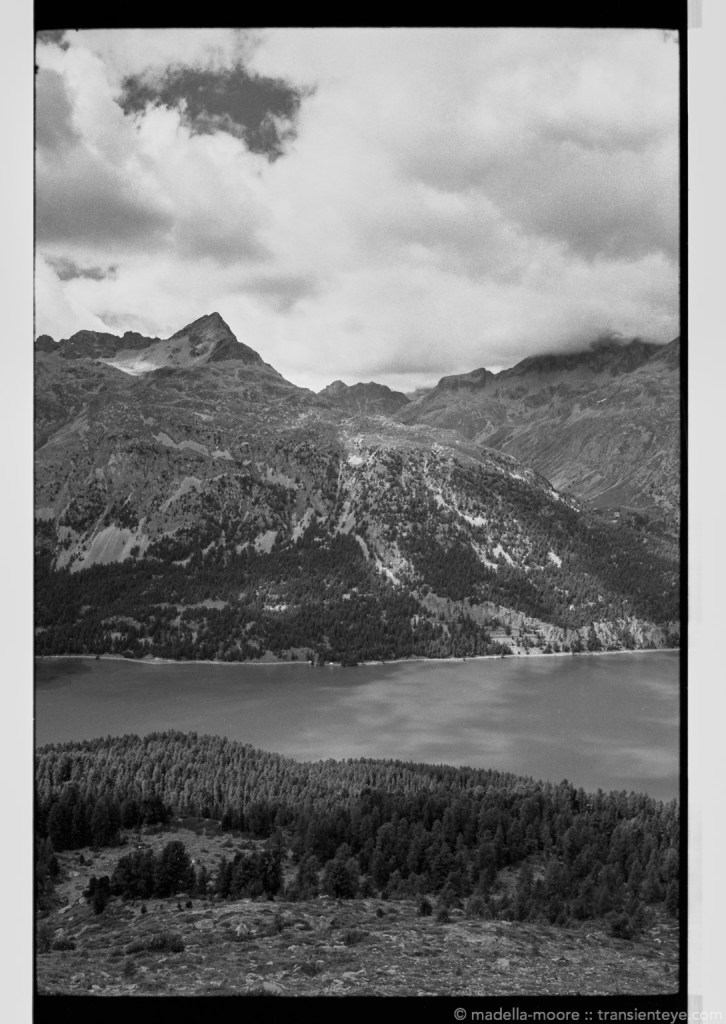
Lake Silvaplana, Switzerland. Un-cropped 35mm film image, scanned and then processed in Capture One.
I finally figured out a workflow that allows me to scan and then process black-and-white images with reasonable efficiency using Capture One…
The main challenge is that C1 fails to handle the 16 bit grayscale TIFF images that the scanner produces, necessitating a conversion to a 16 bit colour TIFF file before the imported images can be edited. The trick is to use ZIP compression, which leaves the file sizes virtually unchanged.
As a result, my film processing workflow currently looks something like this:
- Develop the film. For black and white, I do this at home using a plastic tank that can take either one or a batch of four rolls of 35mm film. This takes about half an hour, plus another hour or so for the film to fully dry.
- Scan the images. I am using an Epson flat-bed scanner, which can scan up to 18 images in a single pass. It takes about an hour to scan an entire film (fortunately, without much hands-on involvement!). The output is a directory containing 16 bit grayscale TIFF image files.
- Convert the files to RGB, saving using ZIP compression. This is done with a batch action in Photoshop CS6, and takes about 5 to 10 minutes to process al 38 images.
- Import to Capture One (finally!)
- Review the images, applying keywords and deleting obvious failures (out of focus, bad framing etc) to save disk space.
- Open the image (again) in Photoshop to clone-out any dust or fluff picked up in the scanning. This is the most tedious part, although the results using Photoshop’s default cloning/healing behaviour are quite good. It definitely helps to use a graphics tablet for this, as pen-accuracy with a laptop trackpad or mouse can be frustratingly poor.
- Add sharpening and final image adjustments using Capture One. Usually the scans are quite soft, and can take quite a lot of sharpening and “structure” (clarity) before artefacts become apparent – although some care is needed to avoid overly emphasising the gain in sky areas.
- Process the image for the blog, rescaling and adding watermark and copyright information.
Compared to shooting digitally, it is quite a long and complicated process. This acts as a brake on the number of images that you want to shoot, which is probably no bad thing.
For comparison, this is the original image before edits in Capture One (mouse-over to see the processed version):


The edits in this case were just to increase the sharpening, and compress the brightness using a gradient mask to darken the sky.
The following 200% crop shows just how much the scans improve with a mix of sharpening and structure:

Showing before (right) and after (left) sharpening.
These images were scanned at 4800 dpi, but realistically there is still only about 10MP of actual detail – not a huge amount given the 80MB TIFF file sizes.
Categories: Landscape, Photography, Technique

Interesting post.
Hi!
I too use C1 for digital and Scan processing. Great soft and great algorythms.
I am shooting film and switched from lightroom to C1 11 and trying to figure it out. Why are you doing the corrections from scanning dust etc at photoshop and not using the spot removal/cleaning/healing process of C1?